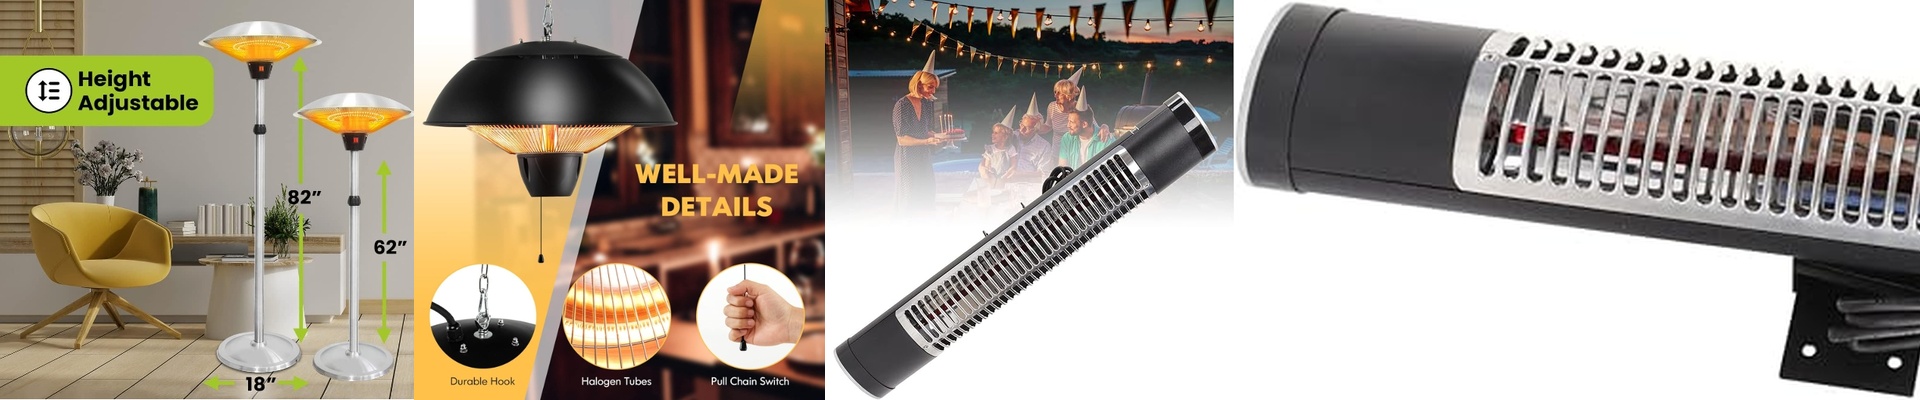
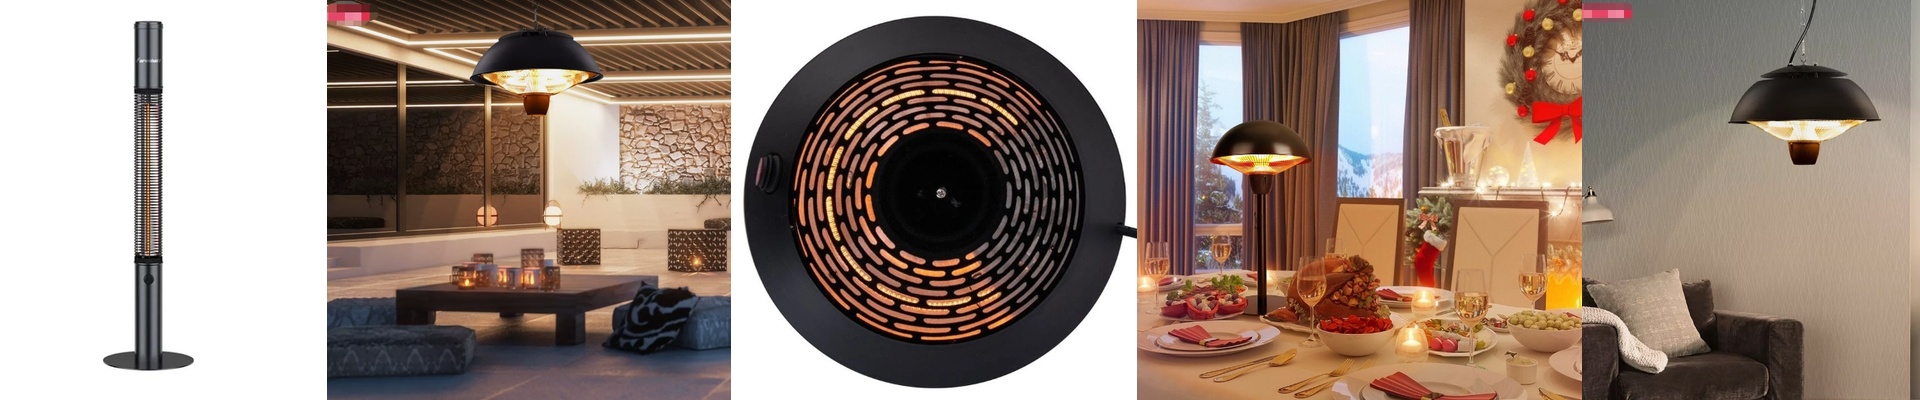
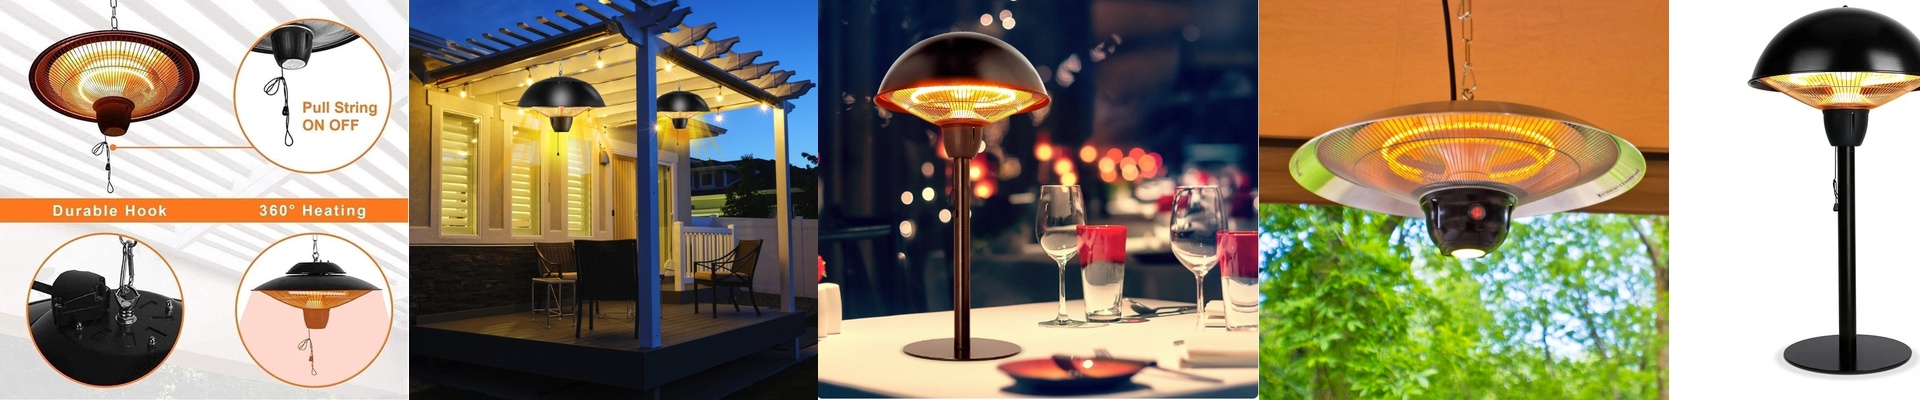
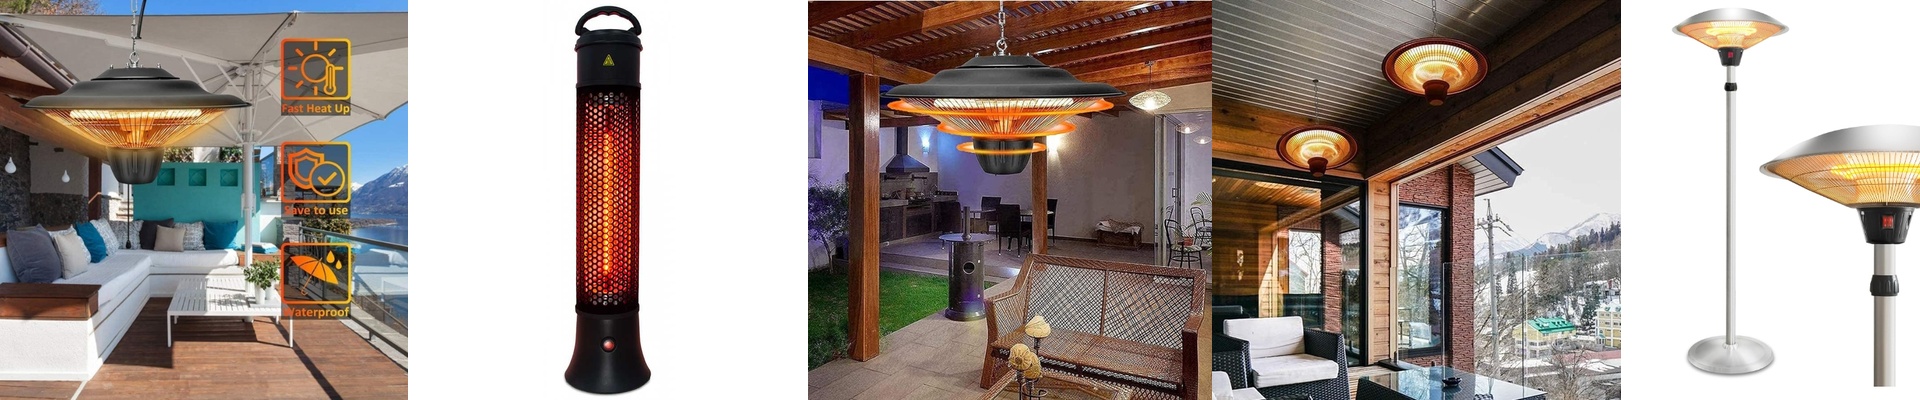
Keeping Your Bathroom Heaters Safe and Dry
Let’s be real: bathrooms are a nightmare for electronics. You’ve got steam everywhere and water droplets clinging to every surface. When moisture gets where it shouldn’t, it creates a path for electricity to wander. If your insulation isn’t up to the task, you’re looking at short circuits or, worse, a ground fault. To stop that from happening, we focus on two things: making sure the housing can handle the voltage and keeping the electrical joints bone-dry.
Stopping the Leaks
A lot of people think the glass bulb is the only thing protecting them. It’s not. The real danger zone is where the power wires meet the heating filaments. That’s the weak spot. To fix this, we use high-temp ceramic insulators and a bit of silicone potting to seal those joints tight. It basically locks out the moisture so it can’t creep into the live terminals. You also need to keep an eye on the IP rating. If you’re putting a heater on the ceiling in a wet area, IP44 is the baseline. But if your bathroom turns into a sauna every morning? Go for IP65. It’s the only way to be sure water won’t spray right into the wiring.
Grounding and Staying Safe
Wiring is where things get serious. Every single heater needs to be bonded to a dedicated earth ground. We use reinforced grounding lugs because you want a fast, clear path back to the panel if something goes wrong. And please, don’t skip the GFCI or RCD. These are your best friends. They can feel a tiny bit of leakage current and trip the circuit in a fraction of a second—long before it becomes a problem for you.
The Balancing Act
Here’s the catch: you can’t just seal everything in plastic and call it a day. If you make the housing too airtight, the heat gets trapped around the base of the lamp. It’s a bit of a tug-of-war. If you over-seal it without giving the electronics a way to breathe, you’ll fry the components way sooner than they should go. It’s all about finding that sweet spot between a water-tight seal and enough airflow to keep the driver cool.